Difficulty: Beginner
It can be frustrating when your holiday photos do not adequately showcase the great places that you have visited. In this tutorial I will be showing you how you can make your travel photographs stand out by simply applying a few photo filter effects.
The first thing to do is to think about what your image is lacking. Is it lacking a bit of colour, contrast or is it simply too dark?
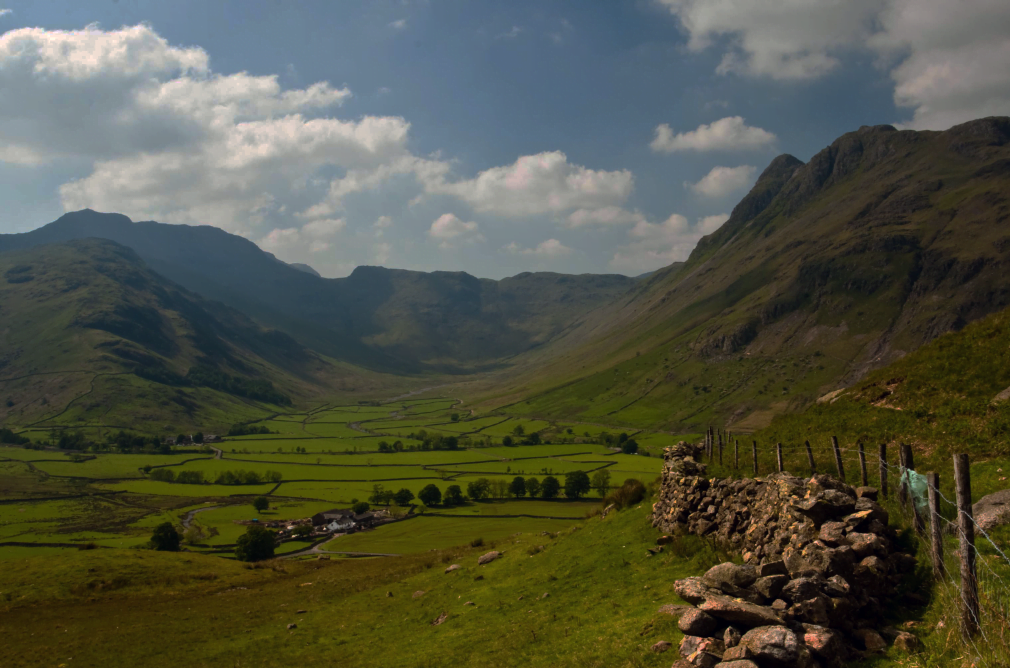
This image is quite dark which affects the colouring and the contrast, so these are the points which we will focus on.
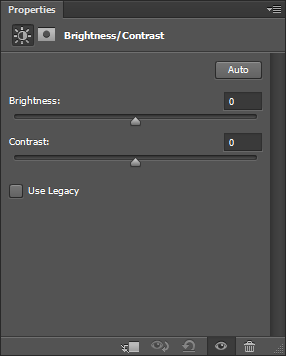
Using the Brightness/Contrast tool in the “add an adjustment” settings, you can brighten up your image. Click on sun icon and experiment with the sliders until you achieve the desired effects. Be cautious about altering your image too much in this way as brightening your mage too much can affect pixel density, making your image less clear.
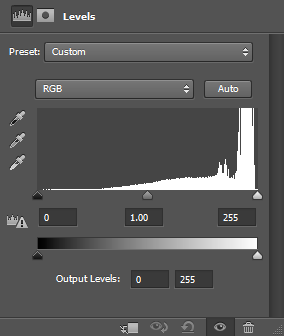
The Levels tool allows you to adjust the highlights and shadows within your image, making it great for adding drama to cloudy sky or making water sparkle.
The slider contains 3 arrows; the black one controls shadows, the grey arrow controls mid tones and the white arrow controls highlights. We recommend experimenting with these arrows to achieve the desired effect, but here are a few simple rules of thumb:
 Remember that this tool works on a black, white and grey tonal range, so this will not highlight the colours within your image.
While the Levels tool can adjust white, black and mid-tones, the Curve tool can adjust colours. As such, it is more complex.
The below image illustrates how the curve graph works.
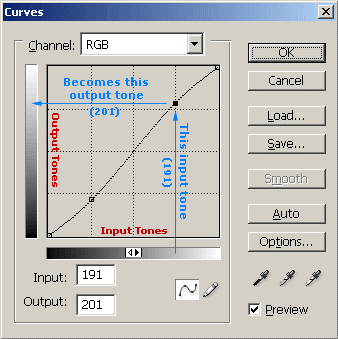
You can alter your image by adding anchor points to the graph, as I have done below.
 The lower anchor means the shadow tones are darker. The higher anchor has brightened the highlights. The tones that were originally displaying at the level indicated on the horizontal axis are now at the level on the vertical axis. This will create more contrast, giving a richer image. Do not be afraid to experiment with different anchors until you have achieved the desired effect.
This is the end result from my experiments with the Brightness/Contrast, Levels and Curve tools. As you can see, the colours are a lot richer whilst the contrasting colours are a lot more vibrant.

The image is now a lot more vivid and pleasing to the eye. At this stage you may be happy with the final outcome, but what if you wanted to add some more filtering effects? Check out the next step below.
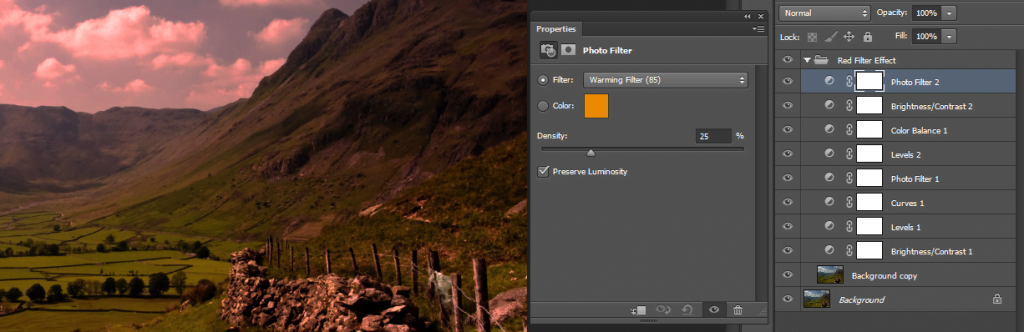
I wanted to give the impression of dusk drawing in on my image. For this, add a photo filter in the “add an adjustment” panel. In this part you can select the colour and density of the effect. I kept mine pretty simple otherwise it would not look too realistic.
You can see from the layers used, I have also added some extra balancing adjustments. This is to make sure that the red filter does not over power the image.
The “add an adjustment” panel is really important for photographic edits. It offers quick solutions for improving your images. If you would like to find out about the fine details with the settings behind these filters, please download the Photoshop actions file detailed below.
This action pack is free for download and requires Photoshop CS3+ to work. This action pack has four filter effects which include:
For this filter to work, you must have your holiday photograph on the default background layer.


We have been informed of an ongoing scam conducted through WhatsApp and other messaging platforms, falsely promising employment or payment to individuals. Please be aware that these communications are not associated with Bravr Ltd. They will attempt to direct you to a website that has a similar domain to ours with additional characters. This is a scam website and has nothing to do with us. We urge everyone to report such activities to the police and through the messaging platforms used for contact.
Please see our Fraud Prevention page for more details
Do not make any payments or disclose personal information. Official communications from our company will always come from an email address ending in @bravr.com.
Stay vigilant and safe.
Shah - Founder of Bravr Ltd.